產品介紹
兩面6刃90度刀盤
低阻力、減少振刀
Double-Sided,6-edge insent,90°Cutters Low cutting force and reduced chattering


優點一:低阻力效果優越
Sharp cutting due to low cutting force

優點二:抗振刀
Reduced Chattering

優點三:肉厚設計具優良抗崩損性
Superior Practure Resistance due to Thick Edge Design

優點四:刀片不分左右手Neutral Insert
平面加工、垂直加工皆可 方便使用,亦可用於左手刀柄(特注品)
Available for Vertical Machining as well as facing
Neutral Inserts are applicable to left-hand cutters (custom order)

優點五:

優點六:配合加工用途的四種斷屑槽系列
4 chipbreakers for various application

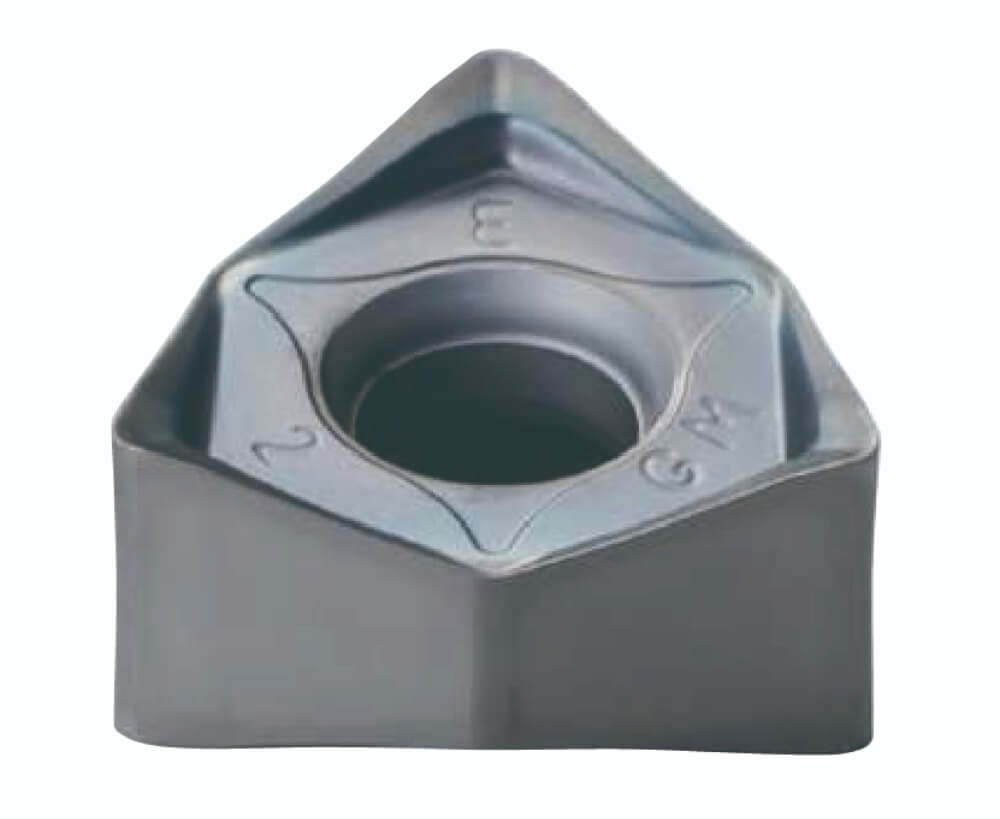
MFWN
MFWN90型面銑刀 MFWN Face Nill


垫片交換順序(標準型刀盤專用)
How to replace a shin(for Coarse pitch)
- 請確實清除垫片安装部位處的灰塵與鐵屑。
Be sure to remove dust and chips from the insert mounting pocket.
- 垫片的安装方向是固定的。請將墊片上方的長溝(參考圖朝向刀片緊固參考圖2)
The shim must be mounted in the proper direction. While aligning the surface of the shim with the mark on it to the corresponding constraint surface (see Fig. 1) and lightly pressing the sh in toward the constraint surface (see Fig. 2).
一邊輕輕壓緊墊片一邊朝垫片機座垂直壓緊(參考圖3)。推薦扭力為6. ON • m
insert the screw into the hole of the shim and tighten (See Fig 3). When tightening the screw, make sure that the screw is vertical to the bearing surface (See Fig. 3). Recommended torque is 6. ON m.
- 緊固螺絲後,請確認注意垫片機座與刀桿間有無縫隙。如有縫隙,請依上述順序重新安裝。
After tightening the screw, make sure that there is no clearance between the shim seat surface and the bearing surface. If there is any clearance, remove the shin and mount it again according to the above steps.

MFWN90型立銑刀(附出水孔) MFWN End Mill(with coolant hole)


交換刀片的順序
How to mount an insert
- 請確實清除刀片安裝部位處的灰塵與鐵局。
Be sure to remove dust and chips from the insert mounting pocket.
- 把防止高溫燒結劑薄薄地塗在緊固螺絲的螺紋和頭音後,緊固面方向壓緊刀片。
After applying anti-seize compound on portion of taper and thread, attach the screw to the front end of the wrench. While lightly pressing the insert against the constraint surfaces, put the screw into the hole of the insert and tighten.
- 在緊固螺絲時,確認板手與螺絲是平行方向。(參考圖1)
When tightening the screw, make sure that the wrench is parallel to the screw.
記住,密齿型刀盤須將板手傾斜鎖入螺絲。(參考圖2、圖3)
Remember that the screw hole of the holder for Extra fine pitch is inclined to the bearing surface. (See Fig. 2 and Fig. 3)
- 請使用適合的扭力緊固螺紋。
Be careful not to tighten the screw with excessive torque. Recommended torque is
推薦緊固扭力,使用MD螺紋(B-50140TR):42Nm 使用M螺紋(B-40140TRN) :3.6Nm
4. 2N-m for M5 screw (SB-50140 TR) and 3.5N-m for M4 screw (SB-40140TRN).
- 緊固後要確認刀片底部和刀柄支撑面以及緊固面無間隙。若有間隙須重新安裝順序。
After tightening the screw, make sure that there is no clearance between the insert seat surface and the bearing surface of the holder or between the insert side surfaces and the constraint surface of the holder. If there is any clearanc
remove the insert and mount it again according to the above steps.
- 更換刀片時,用逆時針轉開螺絲。(參考圖4)刀片切刀號碼印在表面。
To change the cutting edge of the insert, turn the insert counterclockwise. (See Fig. 4) The insert corner identification number is stamped on the top surface of the insert.


根據加工目的選用銑刀和刀片的基準
Cutter and Insert Selection for each purpose of millinf

斜向加工及插銑加工因會干涉被加工材質及刀片故不適宜
NOT available for ramping and helical milling, because interference between workpiece and insert may occur.